How to Frag Coral: Step-by-Step for Beginners
Fragging is how the hobby sustains itself — controlled propagation instead of wild collection. Here is the full process, from equipment to post-frag care, including the safety hazard most beginners overlook.
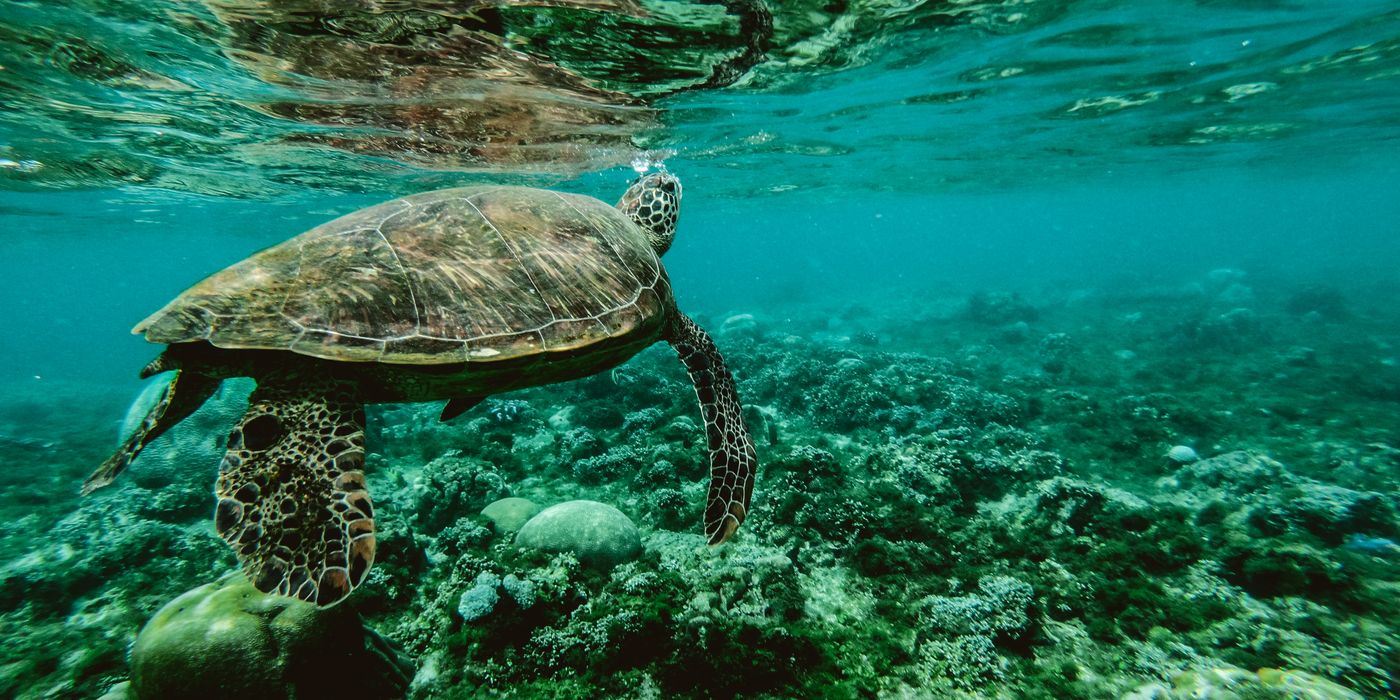
Fragging — short for fragmenting — is the process of cutting or dividing a coral to produce new, smaller colonies from a single parent. It is the mechanism by which the reef hobby propagates coral without pulling animals from wild reefs. When you buy a frag at a local reef club swap or from an online vendor, you are getting a piece cut from a captive-bred parent colony. When you frag your own coral, you grow your collection, create trades, and reduce pressure on natural reefs.
The techniques differ by coral type. Soft corals, LPS (large polyp stony), and SPS (small polyp stony) each have different structures and require different tools and handling. This guide covers all three.
Equipment You Need
- Bone cutters / nail clippers (softies and LPS): A clean pair of stainless steel bone cutters or heavy nail clippers works for soft corals and branching LPS. Sharp blades matter — a ragged cut heals slowly and invites infection.
- Band saw or tile saw (SPS): A wet tile saw or dedicated coral band saw is the tool for cutting acropora and other stony SPS. The blade runs through water to keep the coral cool. Cheap tile saws from hardware stores work well — the coral hobby runs on repurposed tile equipment.
- Frag plugs and racks: Ceramic or plastic plugs give cut frags a surface to attach to. Frag racks keep plugs off the substrate and in good flow while frags attach.
- Reef-safe cyanoacrylate (super glue gel): Thick gel formulation, not liquid — liquid runs into polyp tissue and damages it. Cures fast even underwater; the standard mounting adhesive for most frags.
- Two-part epoxy putty: For heavier LPS frags that won't stay on a plug with glue alone. Knead equal parts until uniform, press the frag base into it, let set.
- Fragging container: A clean bucket or container filled with water from your display tank. You work in this, not over your main system.
- Nitrile gloves and eye protection: Not optional. See the safety section below.
- Coral dip: CoralRx, Revive, or equivalent. Every new frag should be dipped before returning to the tank.
Critical Safety Warning: Palytoxin
Zoanthids and Palythoa contain palytoxin, one of the most potent naturally occurring toxins known. It does not need to be ingested to cause harm — it can be absorbed through skin cuts or mucous membranes, and aerosolized water droplets can be inhaled. Exposure causes severe illness requiring hospitalisation. There are documented cases of reefers being hospitalised after handling palys without protection, and at least one fatality in the scientific literature.
Always wear nitrile gloves and eye protection when handling zoanthids or Palythoa. Never heat them, boil water they were in, or create aerosols. Work in a ventilated area. If you get tank water in your eyes or on broken skin while handling these corals, wash thoroughly and seek medical advice.
Fragging Soft Corals (Mushrooms and Zoanthids)
- Fill your fragging container with display tank water. Put on gloves and eye protection.
- Remove the parent colony carefully and place it in the container. Work quickly to minimise air exposure.
- For mushrooms: use sharp scissors or a razor blade to slice through the foot, creating pieces each with at least one oral disc (the circular top face). Each piece can grow into a new mushroom.
- For zoanthids: cut individual polyps or small clusters with scissors. Keep cuts clean.
- Apply a small dot of super glue gel to a frag plug. Press the frag onto it and hold for 30–45 seconds. The glue cures faster in air than water, so you can briefly hold the plug above the waterline.
- Dip the mounted frag for the prescribed time per the dip product instructions, then place in a low-flow area of the tank for 48 hours while it attaches and recovers.
Fragging LPS (Hammer, Torch, Frogspawn)
- LPS corals have a calcified skeleton with soft tissue draped over it. You cut the skeleton at branch junctions with bone cutters or a saw — never try to tear or twist the colony apart.
- Identify a branch junction and apply the bone cutters at the narrowest point. A single firm squeeze cuts cleaner than repeated partial cuts.
- Each frag should contain at least one head (the fleshy polyp mass) attached to a piece of skeleton. Headless skeleton fragments will not regrow.
- Mount on a frag plug with super glue gel or epoxy putty and dip before returning to the tank.
- LPS frags often retract completely for several days post-fragging. This is normal. Watch for tissue recession starting from the cut edge — that signals an infection and requires action.
Fragging SPS (Acropora and Montipora)
- Set up your wet tile saw or band saw with tank water in the reservoir. Wearing gloves, remove the parent colony and work quickly.
- Cut 1–2 inch frags from branch tips. Longer frags are harder to mount; shorter frags recover faster. The cut face will be white (bare skeleton) — this is normal and will encrust over in weeks.
- Allow the cut base to air-dry for 10–15 seconds before gluing — super glue gel bonds better to a slightly dry surface. Press firmly to the frag plug.
- Dip the frags, then place in the tank at lower light and flow than the parent colony was kept at. Move them up gradually over 2–4 weeks.
Post-Frag Care
Sliming — a mucus film over the cut surfaces — is a normal stress response and not a problem. Closed polyps for 1–3 days is normal. Tissue recession starting at the cut edge and spreading is a problem; increase flow slightly, re-dip if recession continues.
Keep new frags separated from established coral for at least a week. Coral engages in chemical warfare — allelopathy — and placing a stressed frag next to an established colony can accelerate decline in the weaker piece.